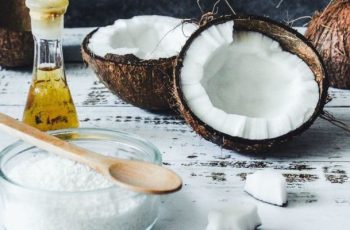
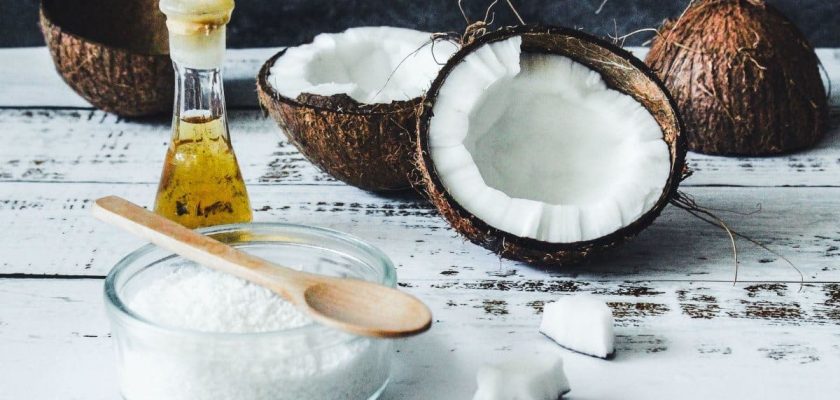
Coconut oil is a versatile homestead staple, used in cooking, skincare, animal care, cleaning, and more. Its long shelf life and natural properties make it essential for sustainable living.
Cooking & Preservation:
With a high smoke point, coconut oil is great for frying, baking, and cooking. It contains healthy fatty acids and preserves food like cheese or dried goods. Blend it with herbs for tasty spreads.
Skincare & Hygiene:
Coconut oil moisturizes dry skin, heals sunburns, and soothes bites. It strengthens hair, reduces dandruff, and serves as a base for homemade toothpaste or deodorant.
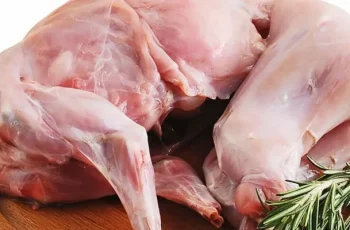
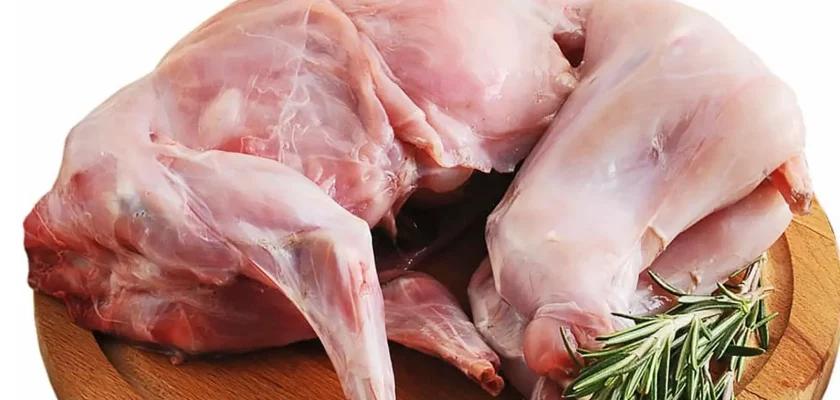
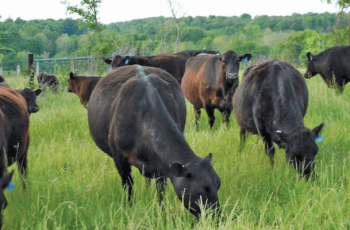
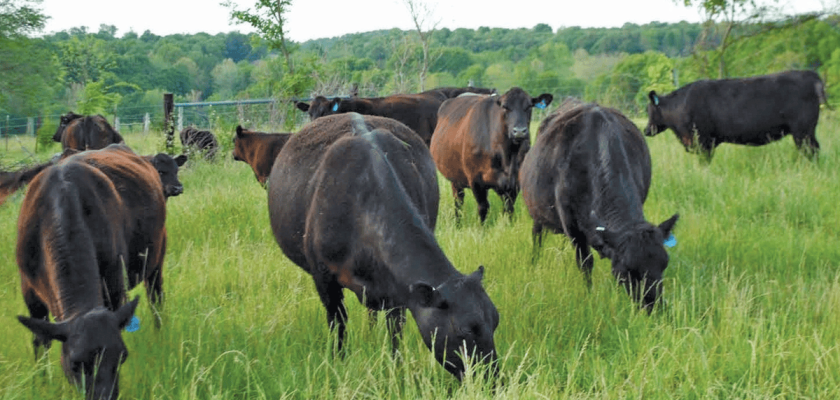
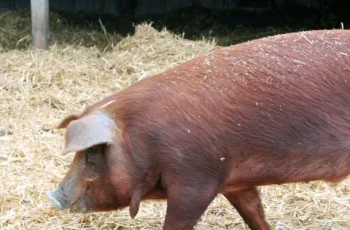
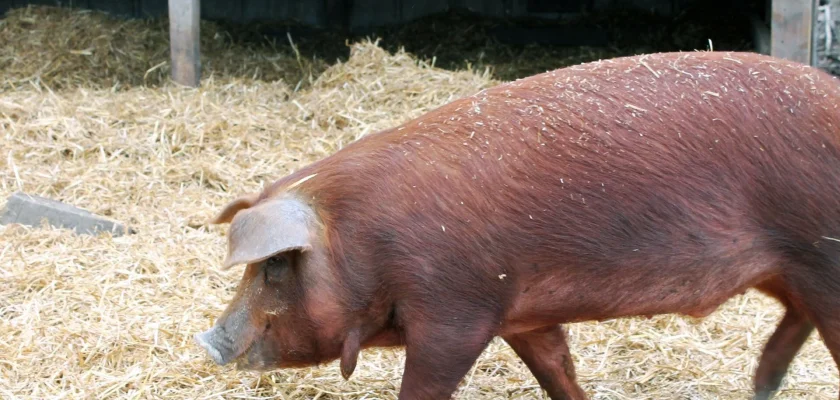
Animal Care:
Added to feed, it boosts livestock health and coats. Externally, it treats cuts, dry skin, and repels fleas naturally in pets and animals.
Cleaning & Maintenance:
Mixed with baking soda, it cleans grime; it polishes wood, conditions leather, and protects metal tools from rust.
First Aid:
Its antimicrobial properties aid wounds and burns. Oil pulling improves oral health, while honey-coconut mixes soothe throats. Blend with essential oils for a muscle balm.
Soap & Candles:
In soap, it lathers richly; with beeswax, it makes clean-burning candles, scented naturally.
Pest & Garden Use:
With neem oil, it repels pests. On plants, it fights fungi; in compost, it boosts microbes.
Sustainable Living:
Coconut oil’s longevity suits off-grid life. It fuels lamps, waterproofs gear, and reduces reliance on store-bought goods.
Extra Uses:
It lubricates zippers, softens paw pads, detangles fur, and enhances homemade snacks like granola.
Conclusion:
Coconut oil supports self-sufficiency, replacing many products with one natural solution for homestead life.